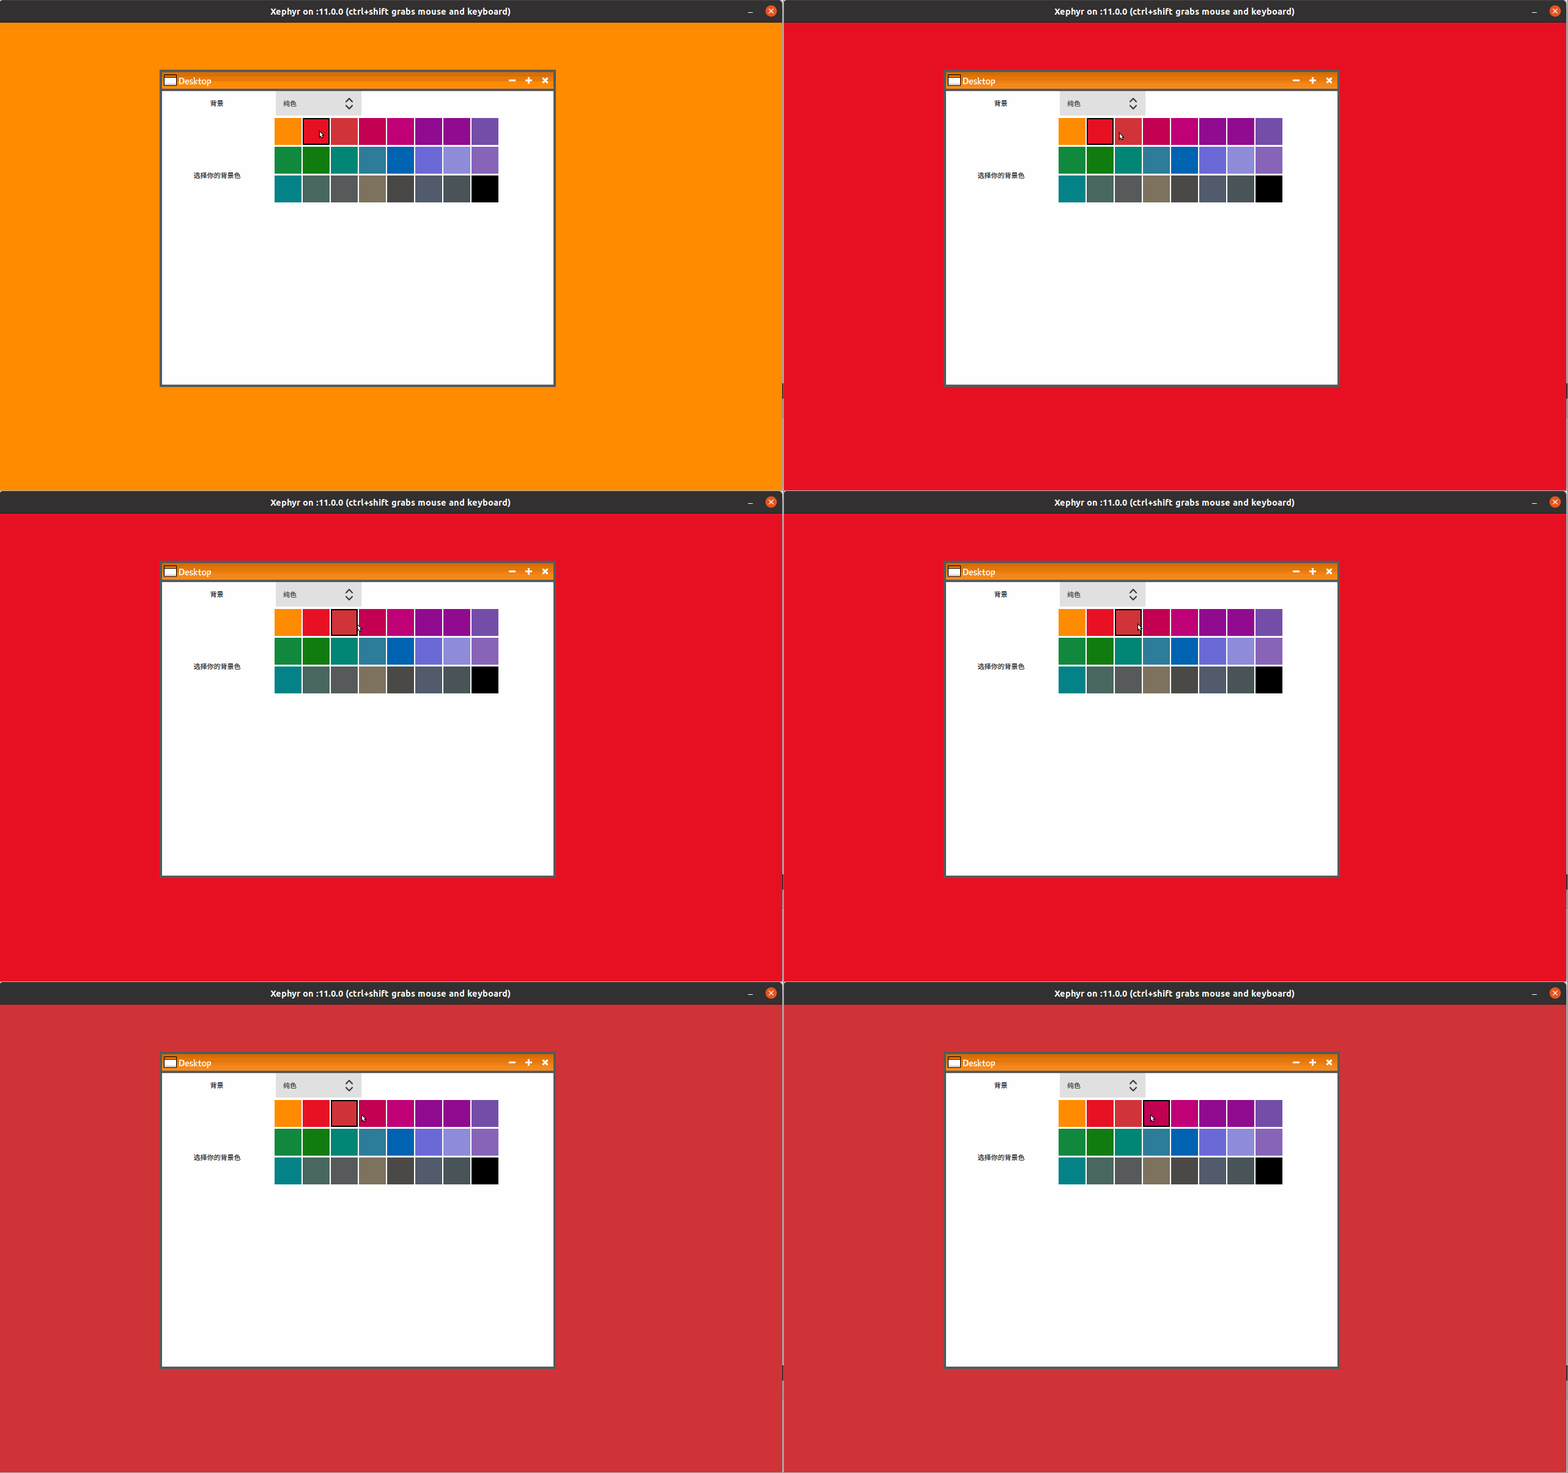
使用feh
feh --bg-center desktop.jpeg我们使用feh命令行可以直接把图片渲染到桌面上。
我猜测原理应该是创建一个图片,直接设置为RootWindow的背景,我们来瞄一眼feh的代码。feh代码在github上。
wallpaper.c,feh_wm_set_bg函数
/* create new display, copy pixmap to new display */
disp2 = XOpenDisplay(NULL);
if (!disp2)
    eprintf("Can't reopen X display.");
root2 = RootWindow(disp2, DefaultScreen(disp2));
depth2 = DefaultDepth(disp2, DefaultScreen(disp2));
XSync(disp, False);
pmap_d2 = XCreatePixmap(disp2, root2, scr->width, scr->height, depth2);
gcvalues.fill_style = FillTiled;
gcvalues.tile = pmap_d1;
gc = XCreateGC(disp2, pmap_d2, GCFillStyle | GCTile, &gcvalues);
XFillRectangle(disp2, pmap_d2, gc, 0, 0, scr->width, scr->height);
XFreeGC(disp2, gc);
XSync(disp2, False);
XSync(disp, False);
XFreePixmap(disp, pmap_d1);

prop_root = XInternAtom(disp2, "_XROOTPMAP_ID", True);
prop_esetroot = XInternAtom(disp2, "ESETROOT_PMAP_ID", True);

if (prop_root != None && prop_esetroot != None) {
    XGetWindowProperty(disp2, root2, prop_root, 0L, 1L,
               False, AnyPropertyType, &type, &format, &length, &after, &data_root);
    if (type == XA_PIXMAP) {
        XGetWindowProperty(disp2, root2,
                   prop_esetroot, 0L, 1L,
                   False, AnyPropertyType,
                   &type, &format, &length, &after, &data_esetroot);
        if (data_root && data_esetroot) {
            if (type == XA_PIXMAP && *((Pixmap *) data_root) == *((Pixmap *) data_esetroot)) {
                XKillClient(disp2, *((Pixmap *)
                             data_root));
            }
        }
    }
}

if (data_root)
    XFree(data_root);

if (data_esetroot)
    XFree(data_esetroot);

/* This will locate the property, creating it if it doesn't exist */
prop_root = XInternAtom(disp2, "_XROOTPMAP_ID", False);
prop_esetroot = XInternAtom(disp2, "ESETROOT_PMAP_ID", False);

if (prop_root == None || prop_esetroot == None)
    eprintf("creation of pixmap property failed.");

XChangeProperty(disp2, root2, prop_root, XA_PIXMAP, 32, PropModeReplace, (unsigned char *) &pmap_d2, 1);
XChangeProperty(disp2, root2, prop_esetroot, XA_PIXMAP, 32,
        PropModeReplace, (unsigned char *) &pmap_d2, 1);

XSetWindowBackgroundPixmap(disp2, root2, pmap_d2);
XClearWindow(disp2, root2);
XFlush(disp2);
XSetCloseDownMode(disp2, RetainPermanent);
XCloseDisplay(disp2);代码里最最重要的应该就是XSetWindowBackgroundPixmap
- root2 就是RootWindow
- pmap_d2就是一个pixmap
给wingo加上背景
首先需要用到上一篇博客wingo-ipc中的内容。
我们首先设计,传递给unix socket命令为SetColorWallpaper #ff8c00,wingo会把桌面背景设置为#ff8c00。
type SetColorWallpaper struct {
    Color string `param:"1"`
    Help  string `
Set Wallpaper color.
`
}

func (cmd SetColorWallpaper) Run() gribble.Value {
    return syncRun(func() gribble.Value {
        wallpaper.SetColorWallpaper(wm.X, cmd.Color)
        return cmd.Color
    })
}
新建一个包,叫wallpaper
package wallpaper

import (
    "fmt"
    "image"

    "strconv"

    "github.com/BurntSushi/xgbutil"
    "github.com/BurntSushi/xgbutil/xgraphics"
)

func SetWallpaper(X *xgbutil.XUtil, image *xgraphics.Image) error {
    image.XSurfaceSet(X.RootWin())
    image.XDraw()
    image.XPaint(X.RootWin())
    return nil
}

func NewColorImage(X *xgbutil.XUtil, color string) *xgraphics.Image {
    ximg := xgraphics.New(X, image.Rect(0, 0, 1280, 768))

    r, _ := strconv.ParseUint(color[1:3], 16, 8)
    g, _ := strconv.ParseUint(color[3:5], 16, 8)
    b, _ := strconv.ParseUint(color[5:7], 16, 8)

    ximg.For(func(x, y int) xgraphics.BGRA {
        return xgraphics.BGRA{R: uint8(r), G: uint8(g), B: uint8(b)}
    })
    return ximg
}

func SetColorWallpaper(X *xgbutil.XUtil, color string) {
    fmt.Printf("wallpaper:  %s\n", color)
    image := NewColorImage(X, color)
    if err := SetWallpaper(X, image); err != nil {
        panic(err)
    }
}
QT 代码
WinGO::WinGO(QObject *parent) : QObject(parent)
{
    QString xdg_runtime_dir = QProcessEnvironment::systemEnvironment().value("XDG_RUNTIME_DIR");
    QString display = QProcessEnvironment::systemEnvironment().value("DISPLAY");
    conn.connectToServer(xdg_runtime_dir + "/wingo/" + display);
}

void WinGO::setColorWallpaper(QString value) {
    char data[100];
    sprintf(data, "SetColorWallpaper \"%s\"", value.toStdString().c_str());
    conn.write(data, strlen(data) + 1);
    qDebug() << "设置背景颜色: " << data << endl;
}
QML 代码
function setColorWallpaper(color_value) {
    $wingo.setColorWallpaper(color_value)
}
代码里还有一些硬编码,但是意思到了。效果还可以。
