参考文章
IDEA、JDK 与Gradle
- IntelliJ IDEA
- 使用sdkman安装JDK11,注意安装的版本是11.0.12-open,不要使用11.0.11.j9-adpt
- 使用sdkman安装Gradle
源码准备
如果是linux上,比如我用的mint,直接可以下载拉取代码
git clone https://github.com/spring-projects/spring-boot.git如果在windows上,请注意,你有可能会碰到Filename too long的报错,这种情况下,如果使用win8以上系统,你可以如下设置,参考
git config --global core.longpaths true切换到对应v2.5.7 tag
git tag v2.5.7添加测试模块(参考上面文章)
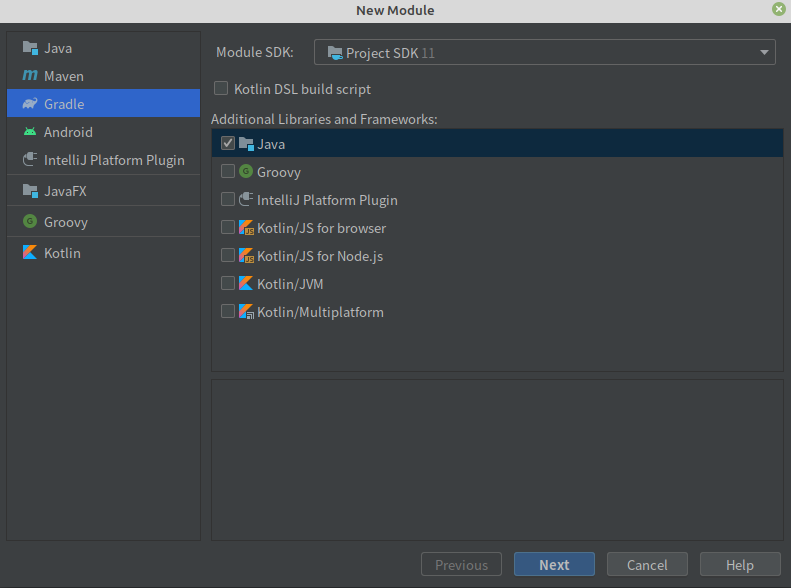
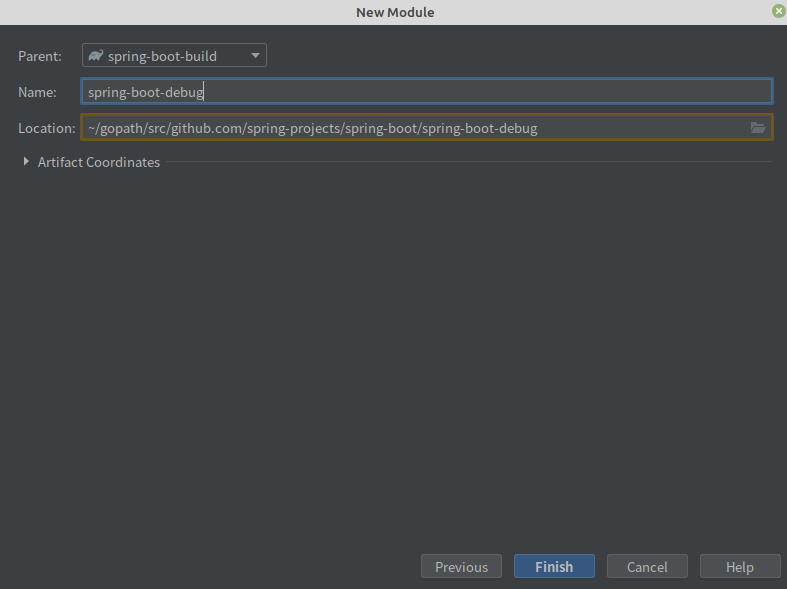
新建模块

名字改为spring-boot-debug

修改build.gradle文件,把java插件改成application
plugins {
    id 'application'
}

group 'org.springframework.boot'
version '2.5.7'

repositories {
    mavenCentral()
}

dependencies {
    annotationProcessor("org.projectlombok:lombok:1.18.22")
    annotationProcessor(project(":spring-boot-project:spring-boot-tools:spring-boot-configuration-processor"))
    implementation(project(":spring-boot-project:spring-boot-starters:spring-boot-starter-web"))
    implementation(enforcedPlatform(project(":spring-boot-project:spring-boot-dependencies")))
    implementation(project(":spring-boot-project:spring-boot"))
    implementation("jakarta.validation:jakarta.validation-api")
    implementation("org.projectlombok:lombok:1.18.22")
}

application {
    mainClass="org.springframework.debug.DemoApplication"
}DemoApplication.java代码
package org.springframework.debug;

import org.springframework.boot.SpringApplication;
import org.springframework.boot.autoconfigure.SpringBootApplication;


@SpringBootApplication
public class DemoApplication {

    public static void main(String[] args) {
        SpringApplication.run(DemoApplication.class, args);
    }
}
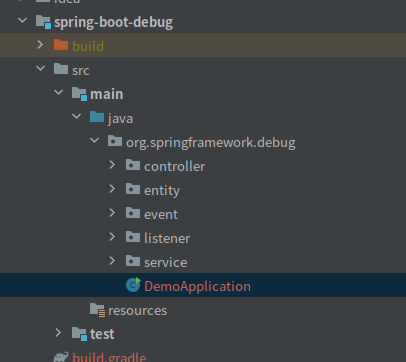
现在可以在模块中随便写一些测试代码

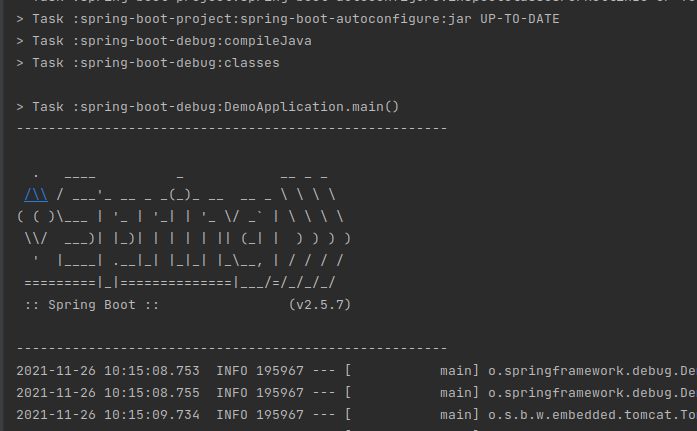
同时,我们给对SpringApplication.java代码Banner代码上下打印出标识符号,如图所示。

运行这个application,如图输出则表示成功
